As usual, Giobikes is Johnny on the spot for delivery, and I had the unit 1.5 business days from sending the payment. Now I know I'm close to him so that helps. Here's what comes in the big brown UPS truck:

The larger box is the actual atv and the smaller is the wheels and parts box. Here is what the quad looks like packaged inside the box.

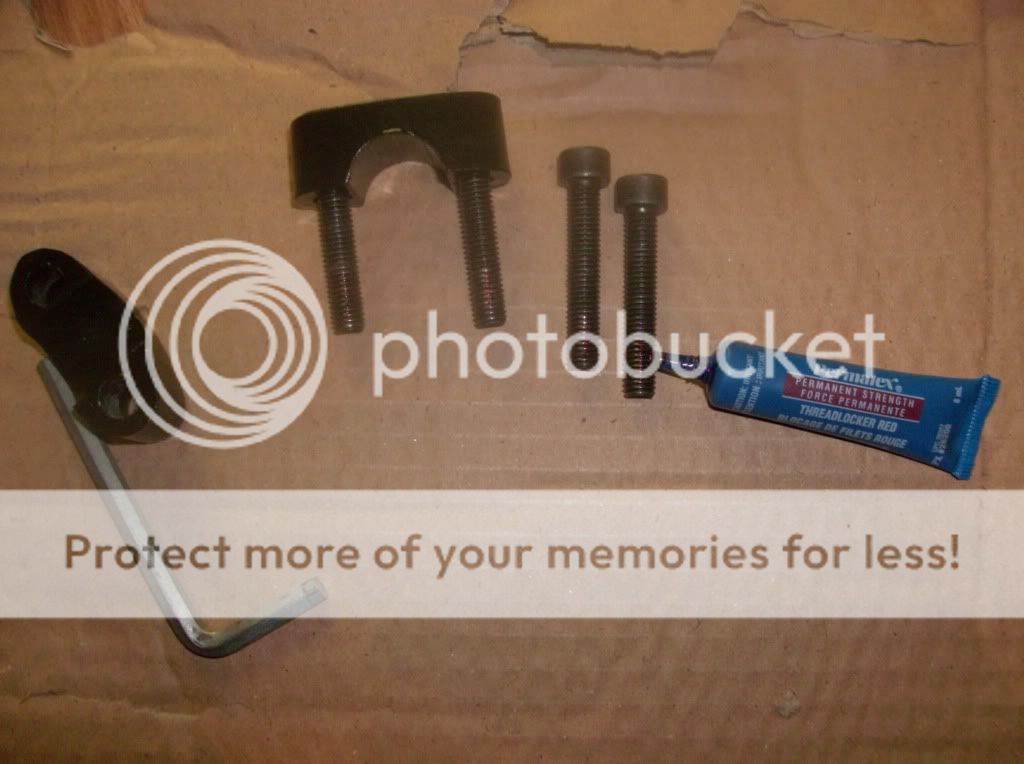
The 50 cc Gio is much less assembly than the 110cc I initially took on. Here is a pic of the hardware it comes with for assembly. Missing from the shot are the wheels and the battery.

After removing all packing materials other than the bottom support crate, here's what you have:

The first thing I do is install the handlebars. Loctite is used here to ensure the bolts don't loosen up and the bars don't dissapear on you on a heavy bump or panic stop. Ouch!
The clamps go around the bars where there is a machined area for better grab and bolt into the holes here.
Tighten the bolts down well to ensure the previously mentioned condition doesn't occur.

Once I have the handlebars tightened down I make sure all the cables have room to move between the body and the bars, and nothing will get snagged or pinched. I then remove the packing crate completely and jack up the unit in order to install the wheels. This is the point I start checking all the bolts and re-tightening/thread locking much of what I can get at. Most of the bolts on this one were pretty snug. If you don't have jacks, you can make due like me with little stools.
I put the rear wheels on first, I don't think this matters. To install the rear wheels you need to slide the long tubes over the axel bar, rule of thumb is long one on the left. Here is me doing the right side tube.

Then the wheel butts up against the tube.

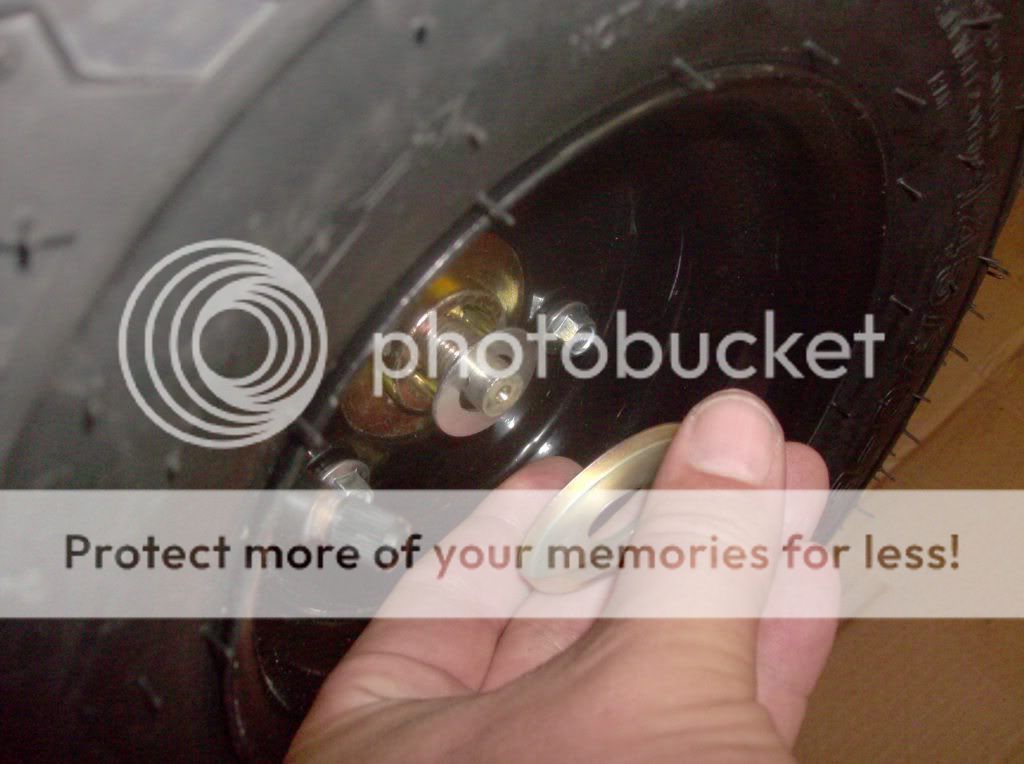
You then install the small washer, then the big concaved washer. Keep the concaved washer with the curved edge <i> toward </i> the wheel. If you don't, you won't be able to get the rubber cab over it.
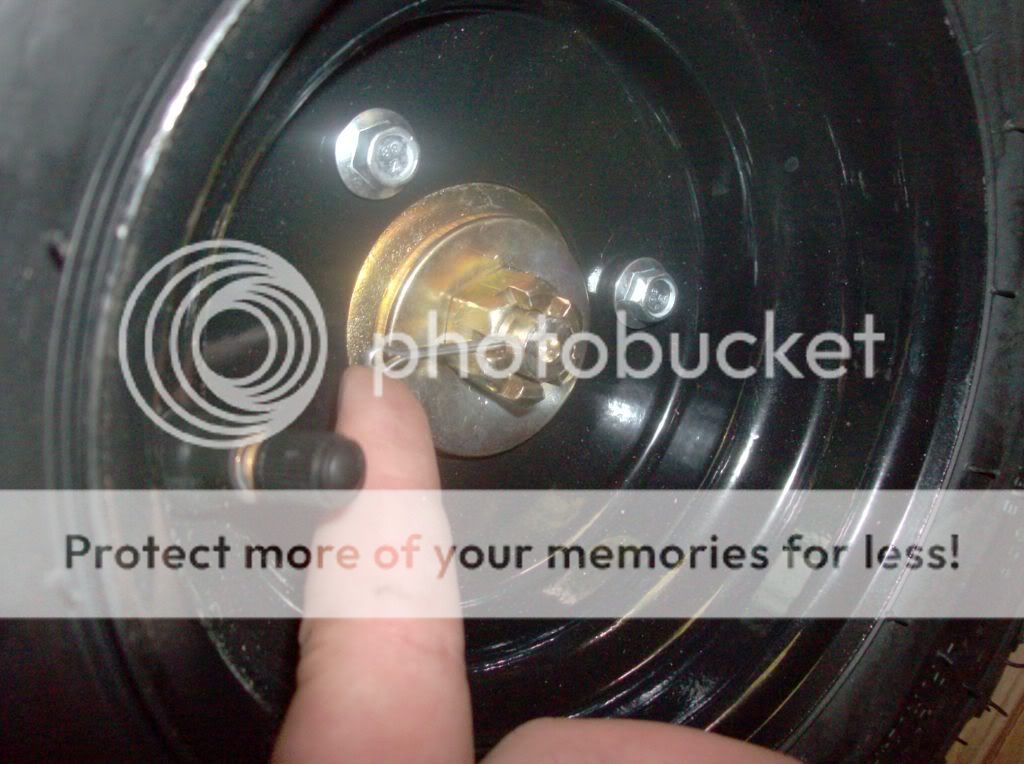
Loctite, then twist the nut on.

Then install the cotter pin. Your cotter pin should slide through so the thick end fits inside the castelated nut to ensure it does not loosen off. Then bend the ends of the pin, back and around so it doesn't fall out.
Repeat these steps for the other side and you now have back wheels installed. This is a good time to inspect your back axel alignment, to make sure the front and rear sprockets are running true, and the chain is not too tight. Mine came with the chain extremely tight, so I needed to loosen it off some.
You now move to the front wheels. My ATV came with front brakes, I'm not sure if all the 50cc units do, but this is the second one I have ordered that came with them. The first one I did I had some trouble figuring out the order of the pieces, which was mainly due to some burrs or uneven grinding on the front spindles which was grabbing some of the washers and brake assemblies and not sliding on all the way. This unit was better for that, and everything slid on as supposed to. (Apart from some thread problems which is an entirely different matter)
Here is the order I installed the front wheels with brake assemblies:
Slide the front brake drum right back on spindle, and insert stud through the frame mount. Should be a nut here to tighten but mine was missing on both sides. You then slide the longer bushing/tube up against the brake drum assembly.

Then push the wheel up against the bushing. I should mention that my wheel bearings were falling out of my front tires. I put a dab of loctite on the outside edge before installing them into the hubs. Insert the smaller bushing up against the bearing, then the small washer and the concaved washer like the back.

I would be careful tightening these too much as it will push the bushing into the wheel bearing. I made them snug, so there was room for the cotter pin to sit in correctly, using loctite again of course.

You repeat this process on the other side and you now have a rolling atv with four wheels!
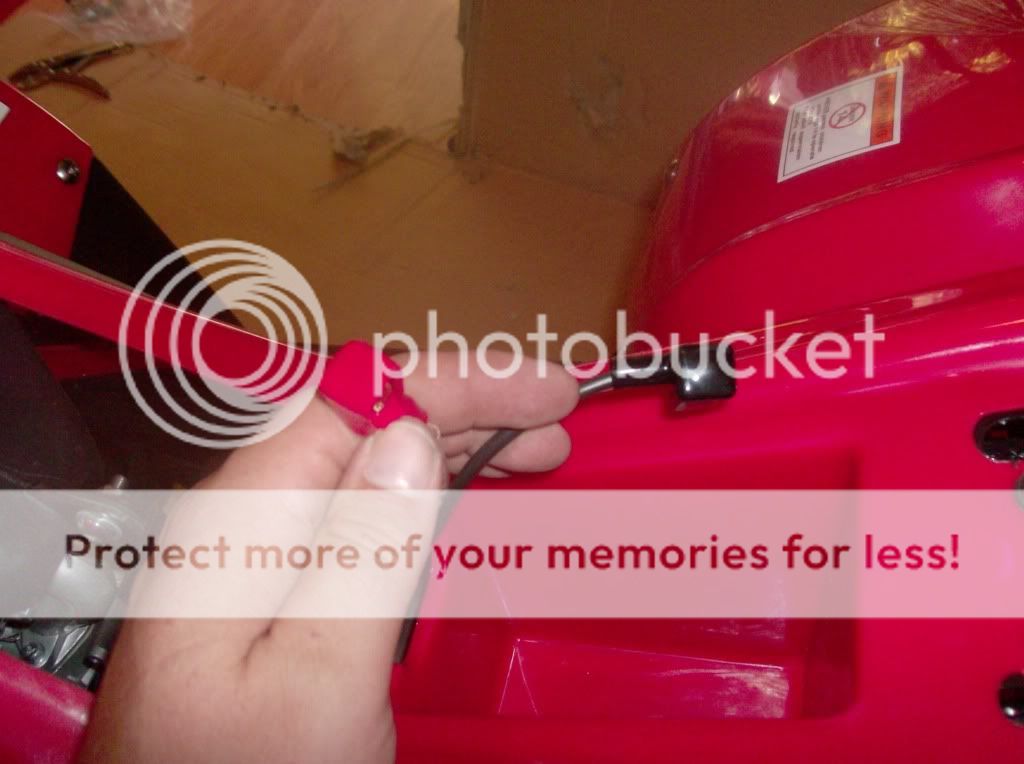
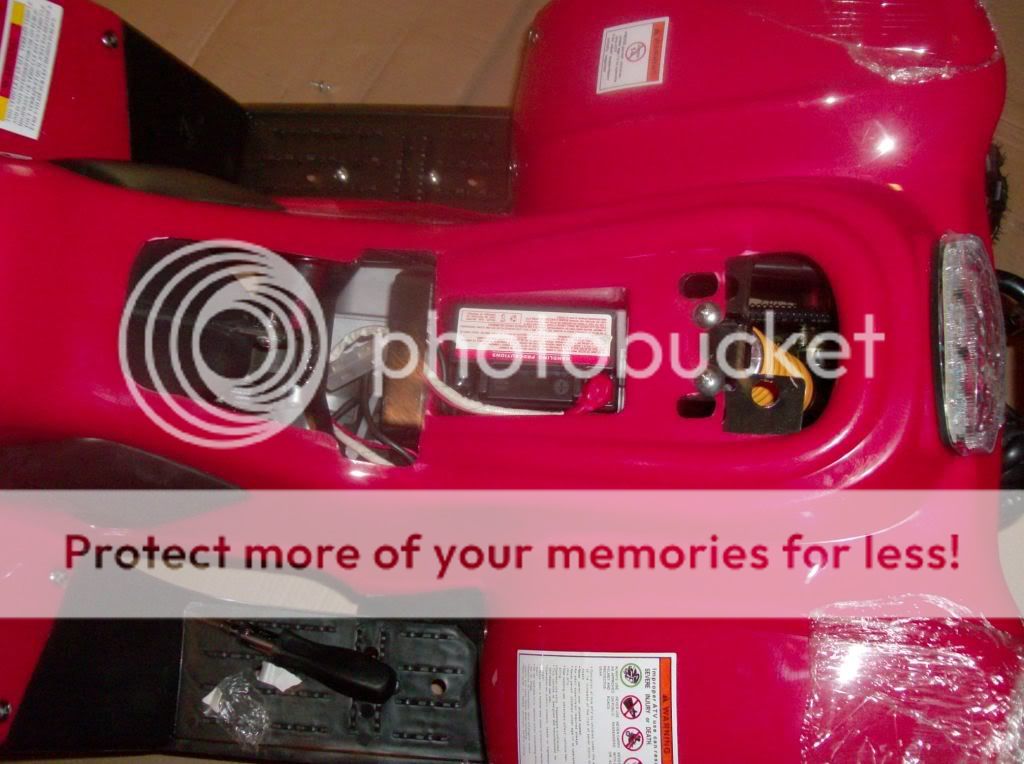
Next comes the battery. The battery sits under the seat. The seat has a latch at the back you reach under and pull and the seat pops off. I find these fun to put back on but I digress. Once you remove the seat, you need to fish the battery cables out from wherever they wiggled to during shipping.
The battery should be ready to go out of the box. There is no acid filling needed on these they are sealed and I have yet to find one not charged and this is my fourth Gio in the extended family. The hardware is taped to it and I would suggest strongly you don't lose them! The connectors on the battery are very small, and it is hard to find replacements for these. I used a dab of loctite on the rectangular clamp piece for this one, as I already have seen two rattle the connections loose and lose the hardware. This is a good item to check for snug bolts regularly. This is pretty straight forward, red to red, black to black, slide into it's hole, make sure the wires aren't going to bind anywhere and plop the seat back on. (Have fun with that) :)
Can't stress this part enough. Now it is time to drain the oil from the motor and replace it. The manual specifies 10/40 for this unit, however I used 15/40 Diesel oil. I have run this in both my 110cc and 50cc. I did not take a picture of the drain plug, but probably should have. It is in a bad spot, with the frame and a frame bolt right below it. Drain oil completely, then refill. I would start with .5 litres and keep checking the dipstick until it's at the safe level. You won't need more than .9 litres, probably less. Oil filling is tricky without a funnel due to the placement of dipstick.

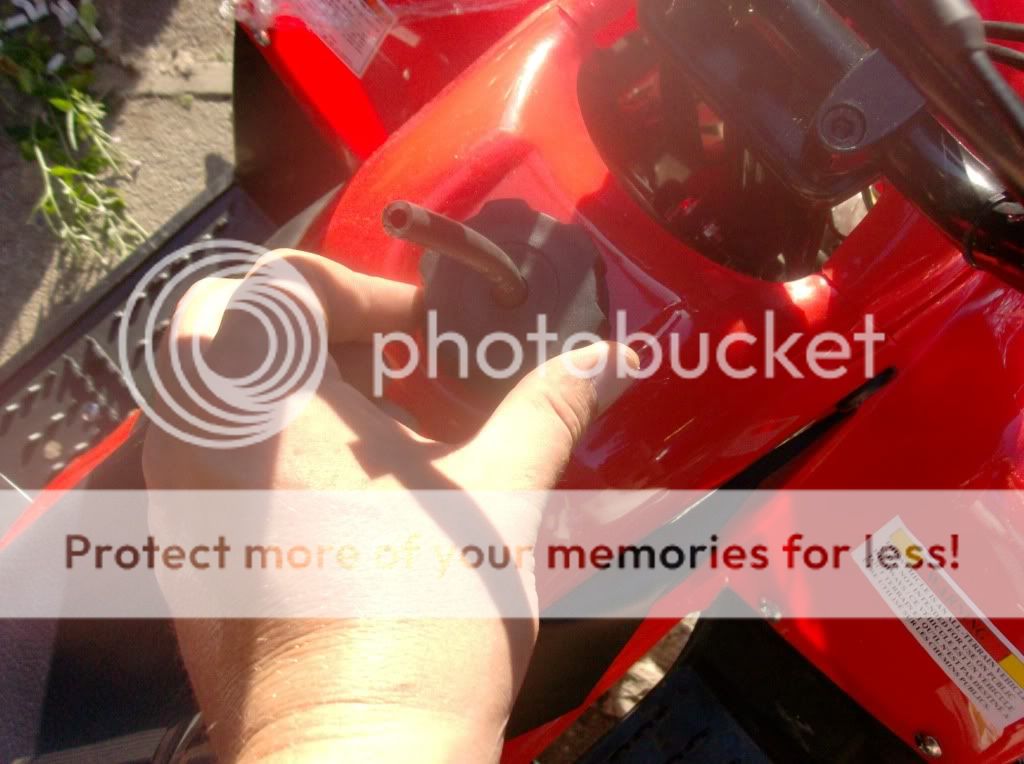
Now for the obvious, put some fuel in it, and put the gas cap on with the rubber hose for venting.
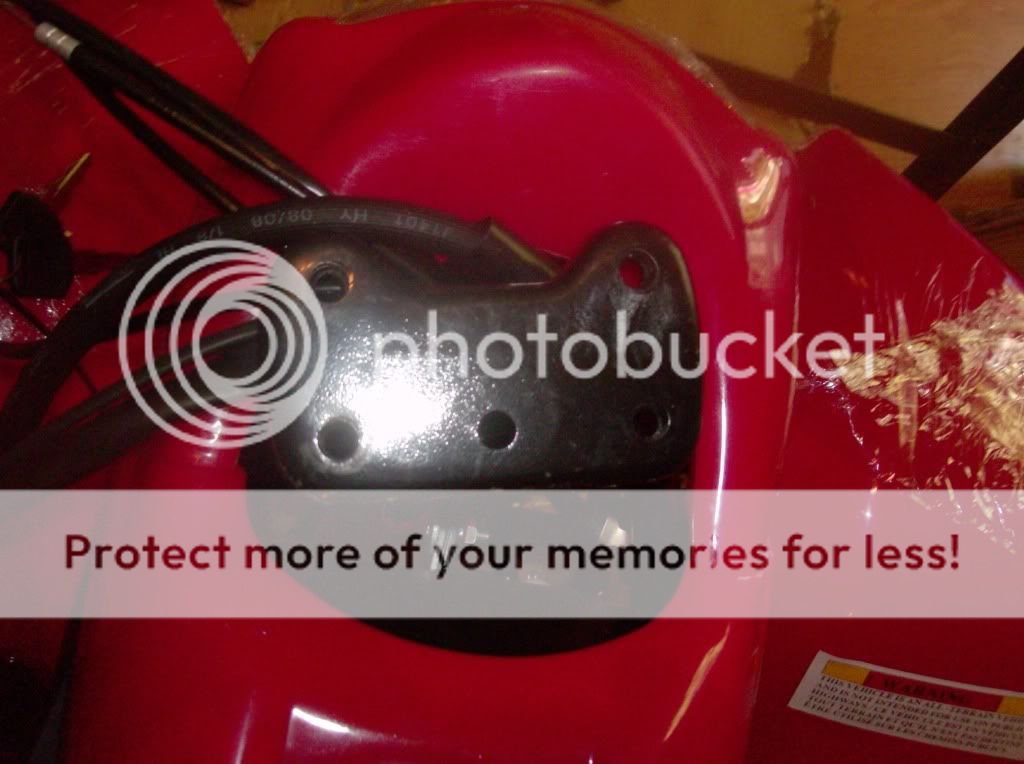
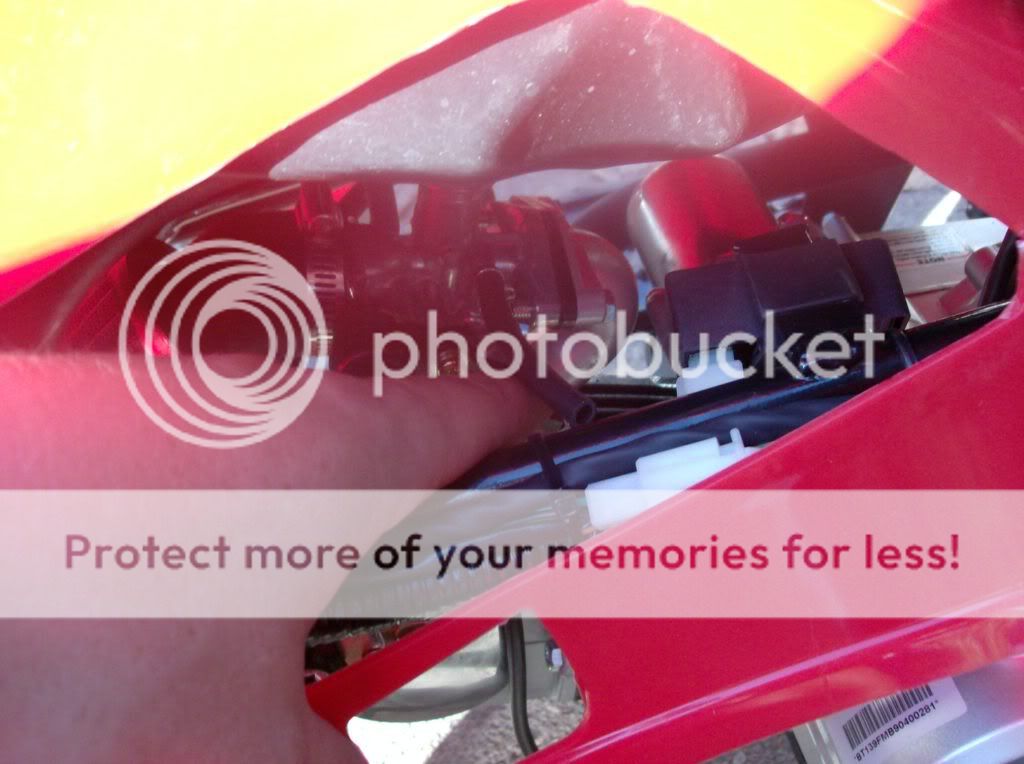
Now it is time to try to fire it up. The 50cc ATV has a manual choke lever on the left side of the carb, which is tucked up under the body. The black 'vent' plastic comes off to provide you easier access to the carb.
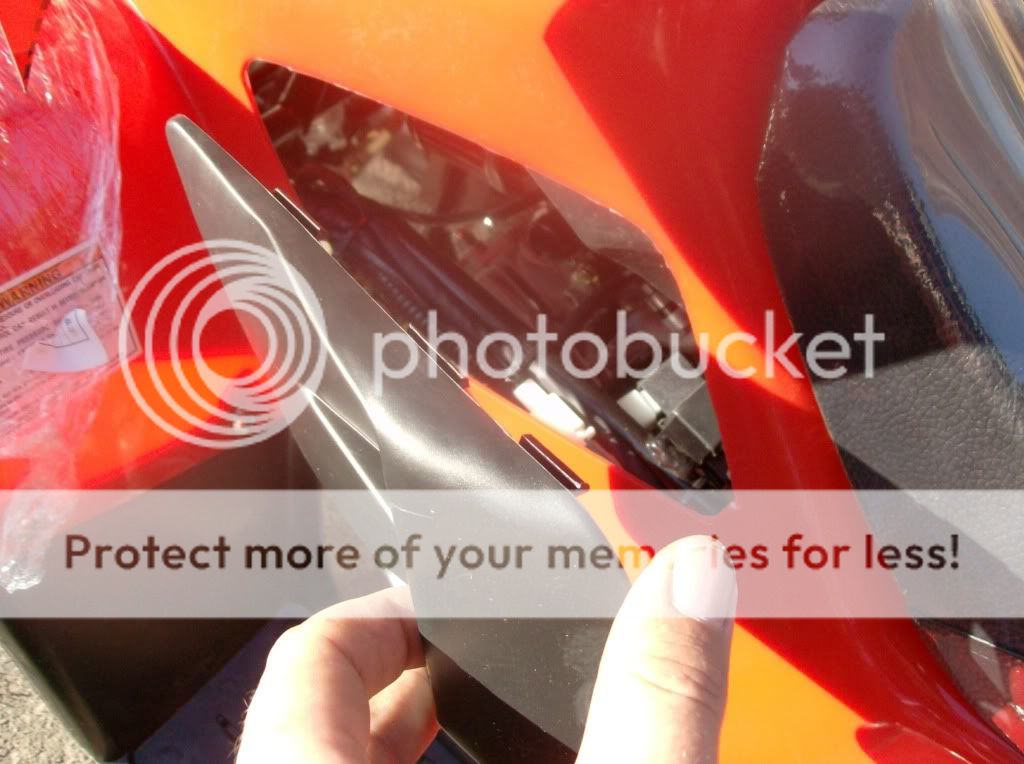
Hard to see in this picture, but I am pointing at the choke lever. You pull it up to fully open, then it pushes down and clicks closed, and then you can push it down to open it again. I find it is easier to start by pushing it all the way down.
Overall this quad is pretty easy to assemble, and they are fun little machines.

The only thing left would be to attach the front brake cables. There are instructions on how to do this included with the unit.
Hope this helps you while you're putting together your new quad! Giobikes now only sells these with 110cc motor, but I'm sure the assembly process is the same. The 110cc motor is a good runner, and lots of fun.
No comments:
Post a Comment